SpiritPay User Guide
Everything you need to know to set up and run SpiritPay at your events.
Getting Started
Set up your account and join your organization.
Download SpiritPay
Download SpiritPay from the App Store on your iPhone or iPad. The app is free to download and requires iOS 16 or later.
SpiritPay works on both iPhone and iPad — iPad is ideal for concession stand use.
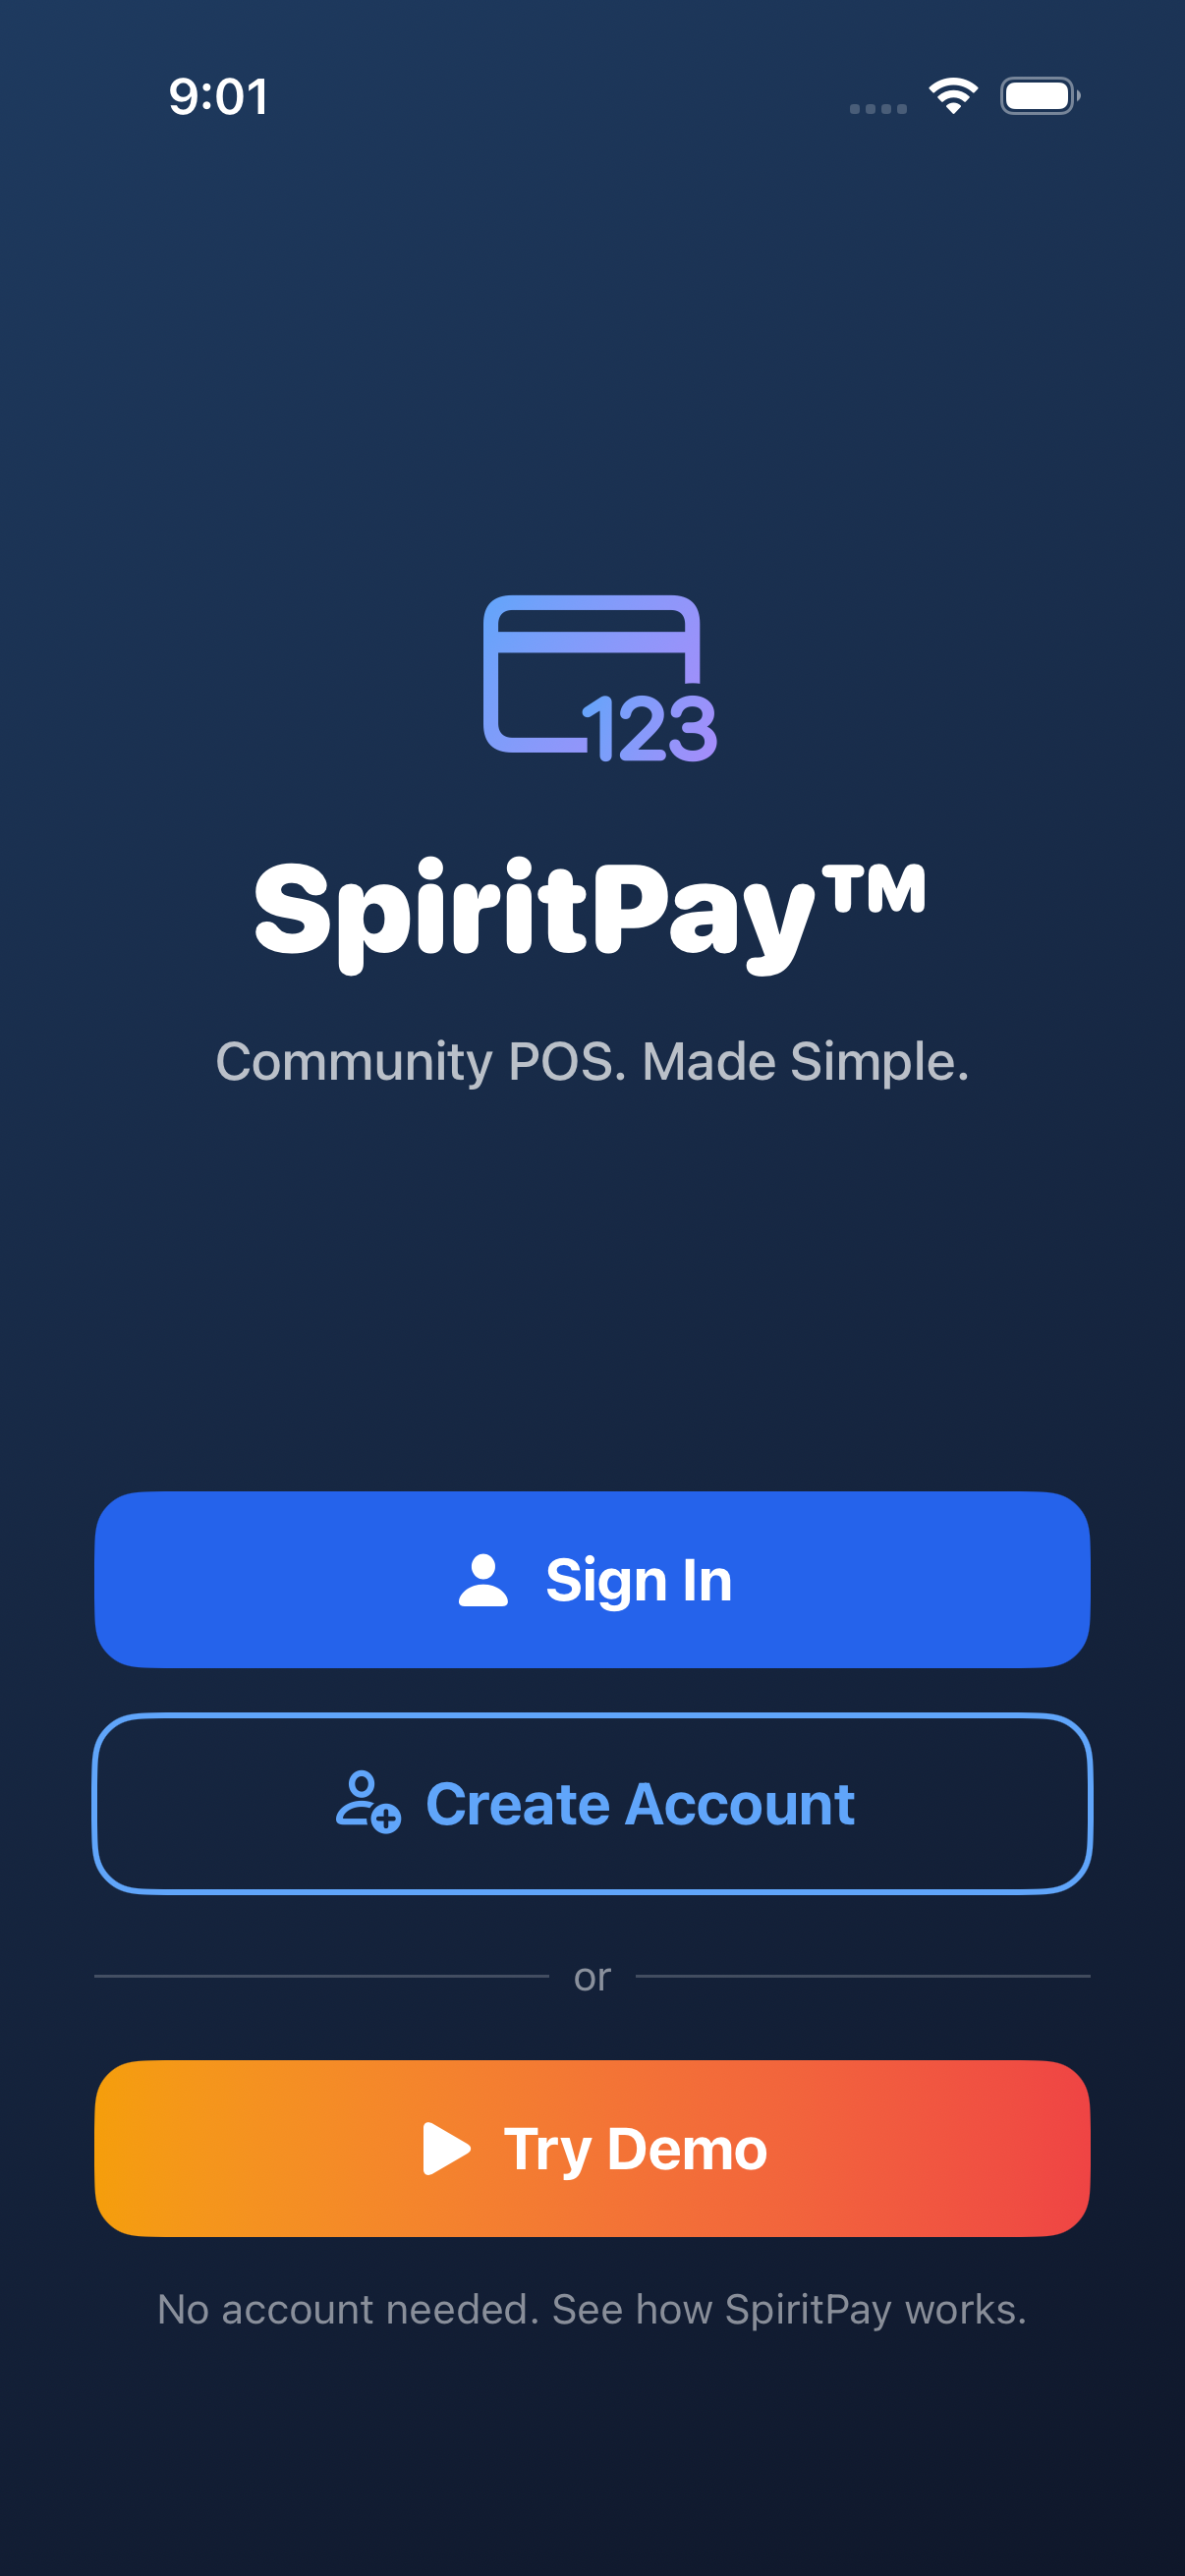
Sign In
Open the app and sign in using Sign in with Apple or Sign in with Google. This creates your secure account — no password to remember.
Join an Organization
If your admin has already set up your organization, enter the invite code they shared with you. This links your account to the org and gives you access to the menu and POS.
Ask your admin for the invite code — they can find it in Settings → Invite Volunteers.
Create a New Organization
If you're the first person setting up SpiritPay for your group, tap "Create Organization." You'll walk through a short wizard to set your org name, configure Stripe for payments, and build your menu.
You can skip Stripe setup initially and explore the demo mode first.
Try Demo Mode
Not ready to commit? Tap "Try Demo" on the welcome screen to explore a fully-loaded sample organization (Riverside Wolves). You can browse the menu, simulate sales, and explore admin features — no account needed.
Your First Sale
Ring up items, manage carts, and complete transactions.
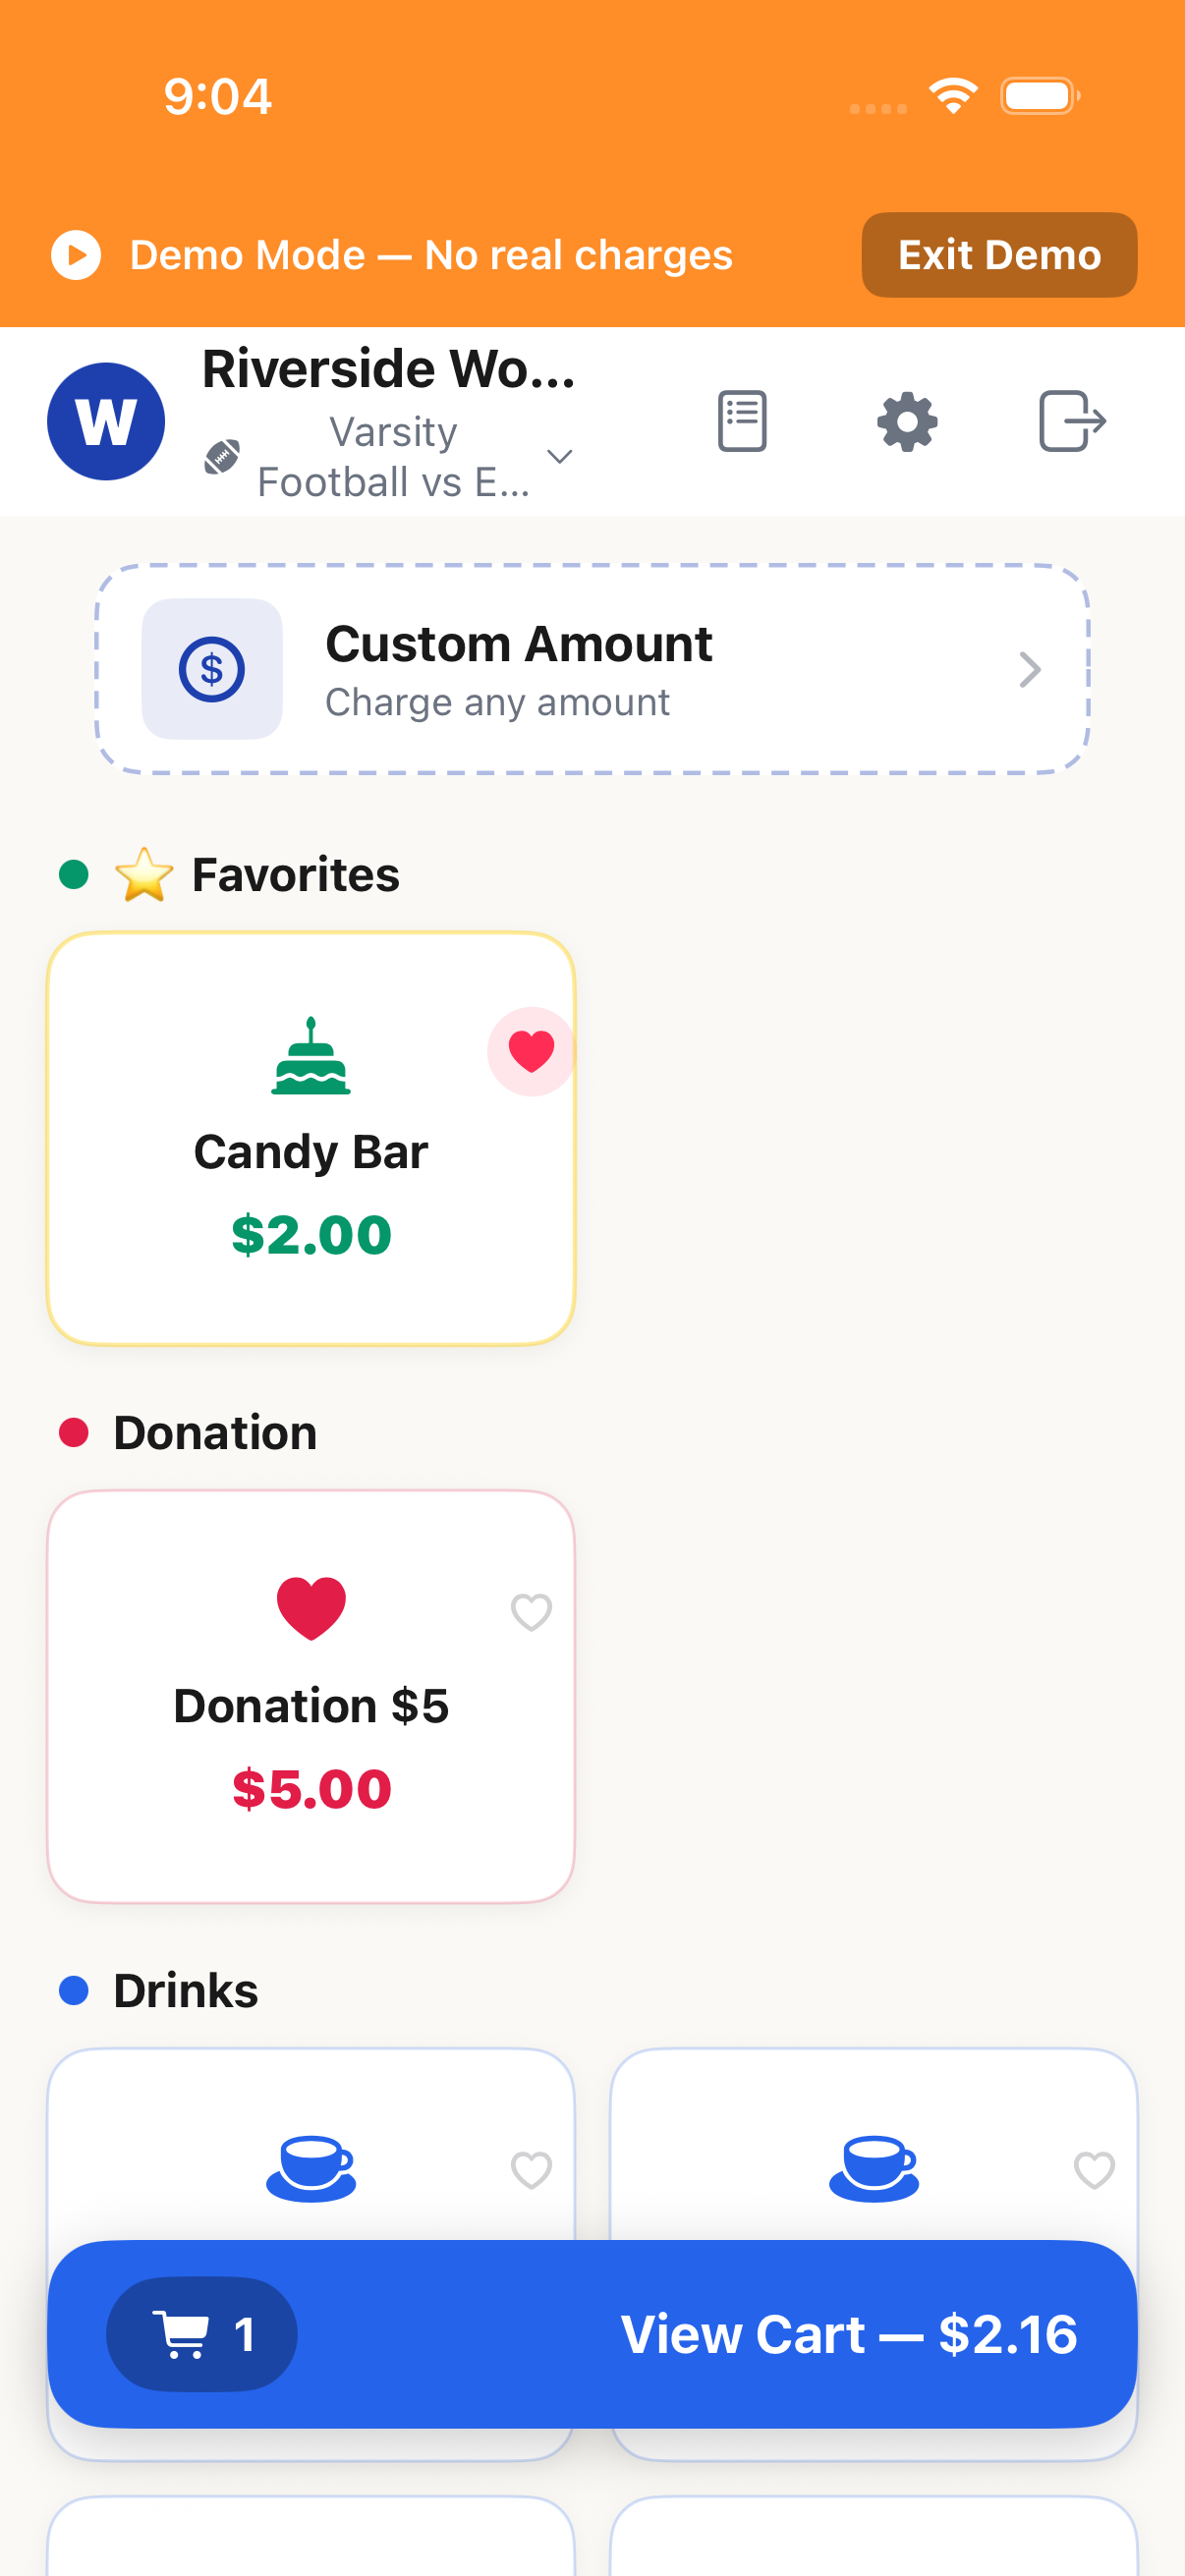
Browse the Menu
The main screen shows your organization's product menu in a grid layout. Items are organized by category (food, drinks, merchandise, etc.). Tap any item to add it to the cart.
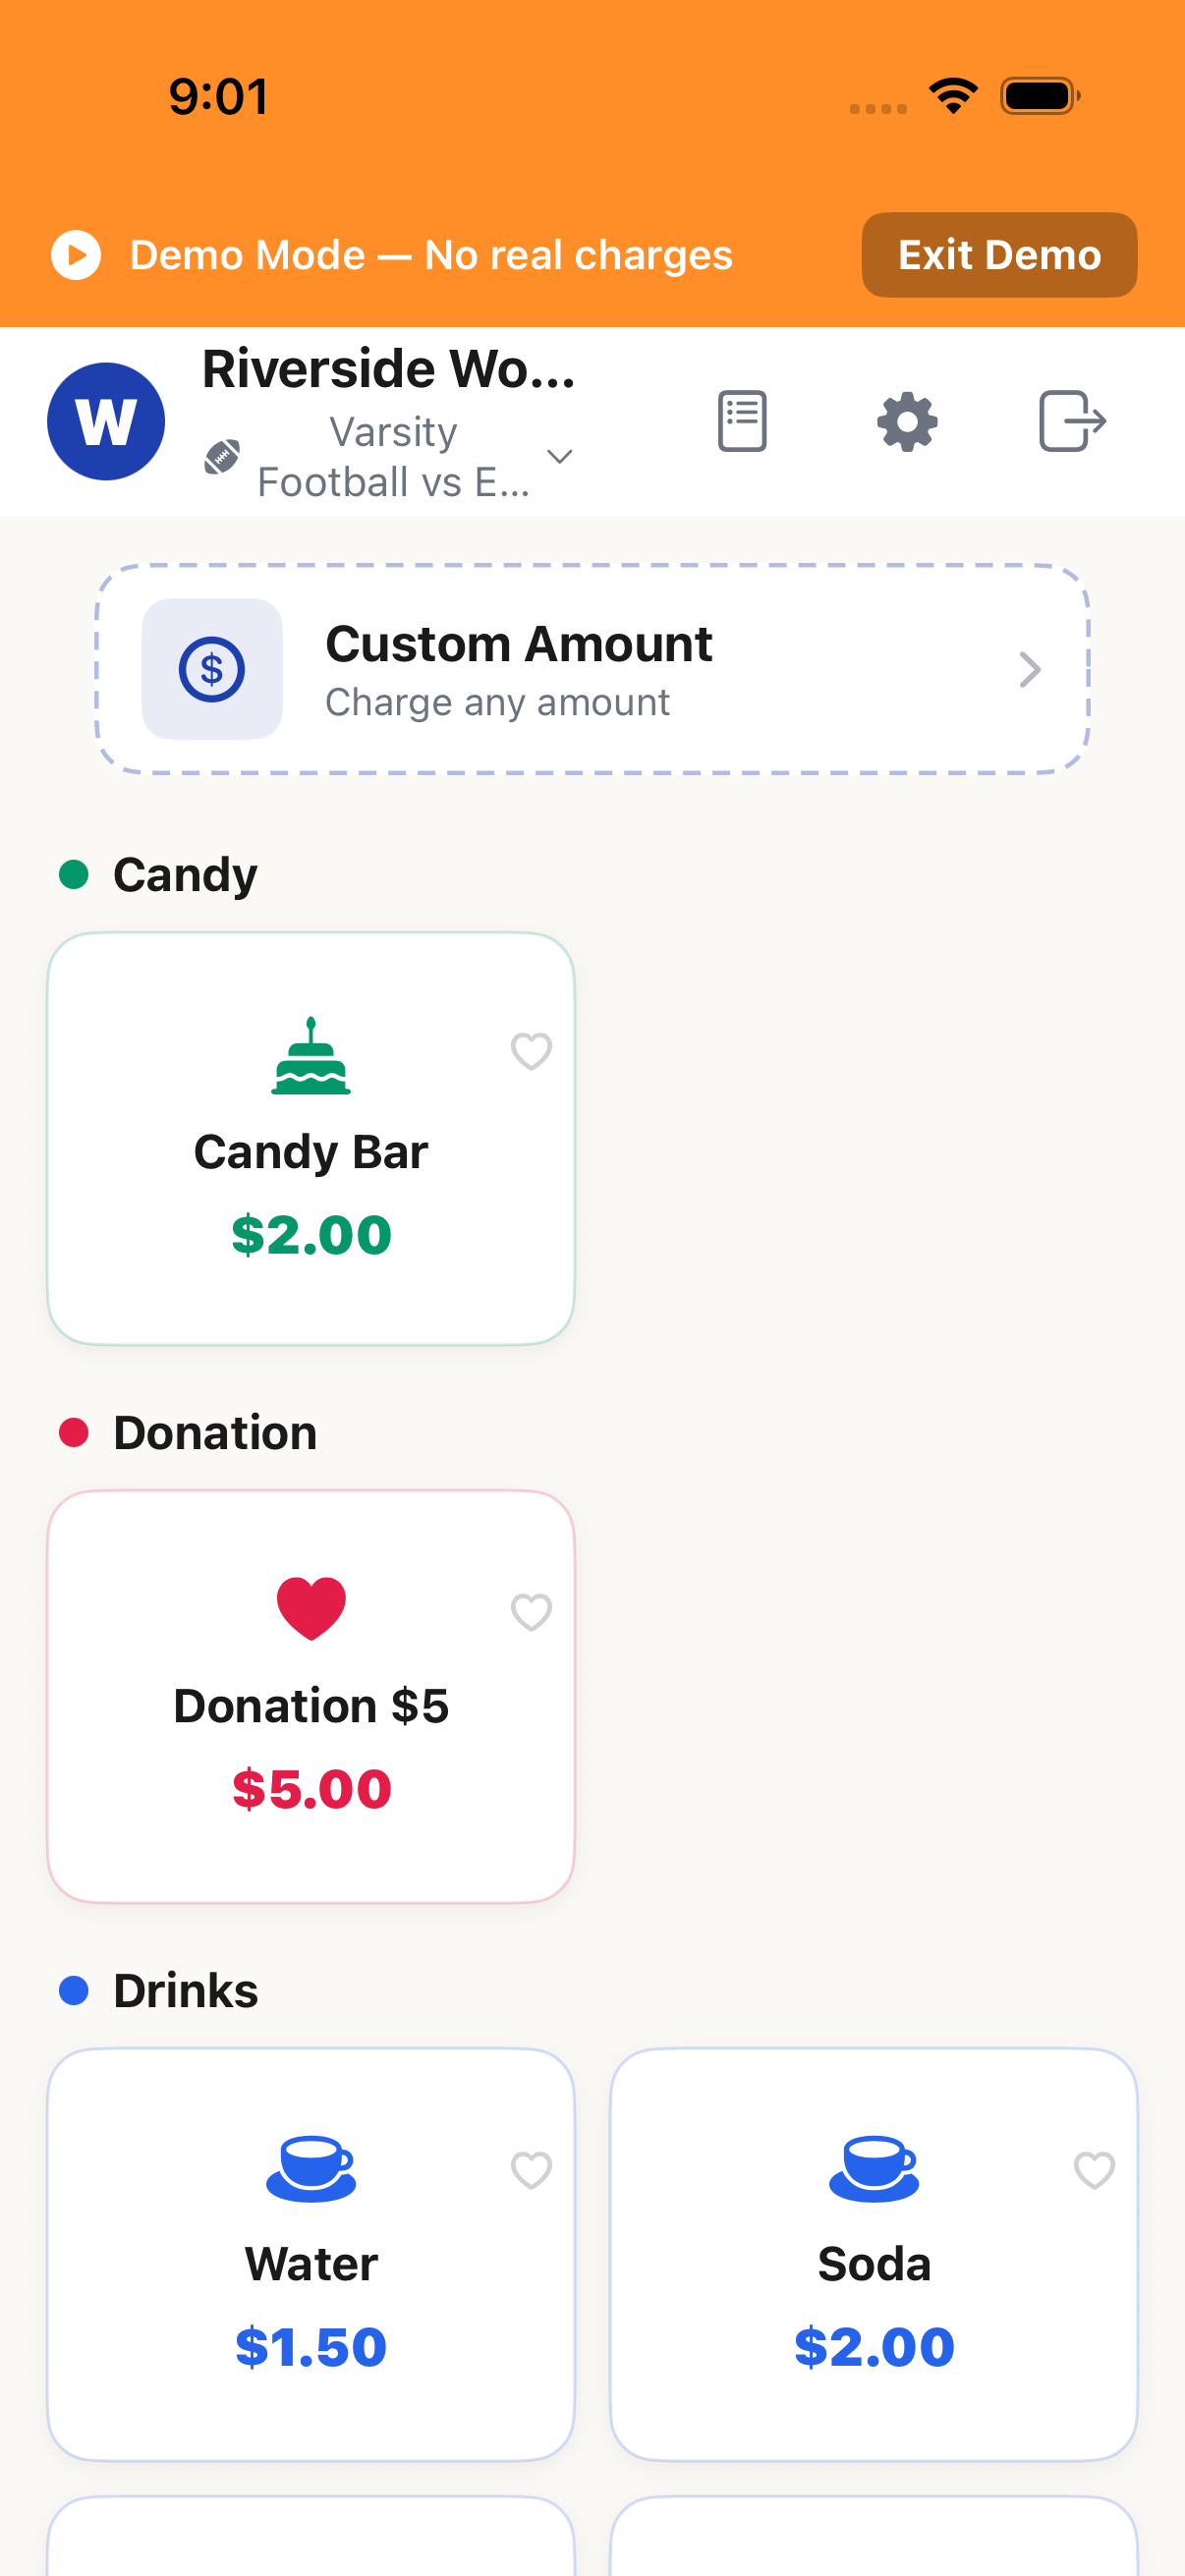
Add Items to Cart
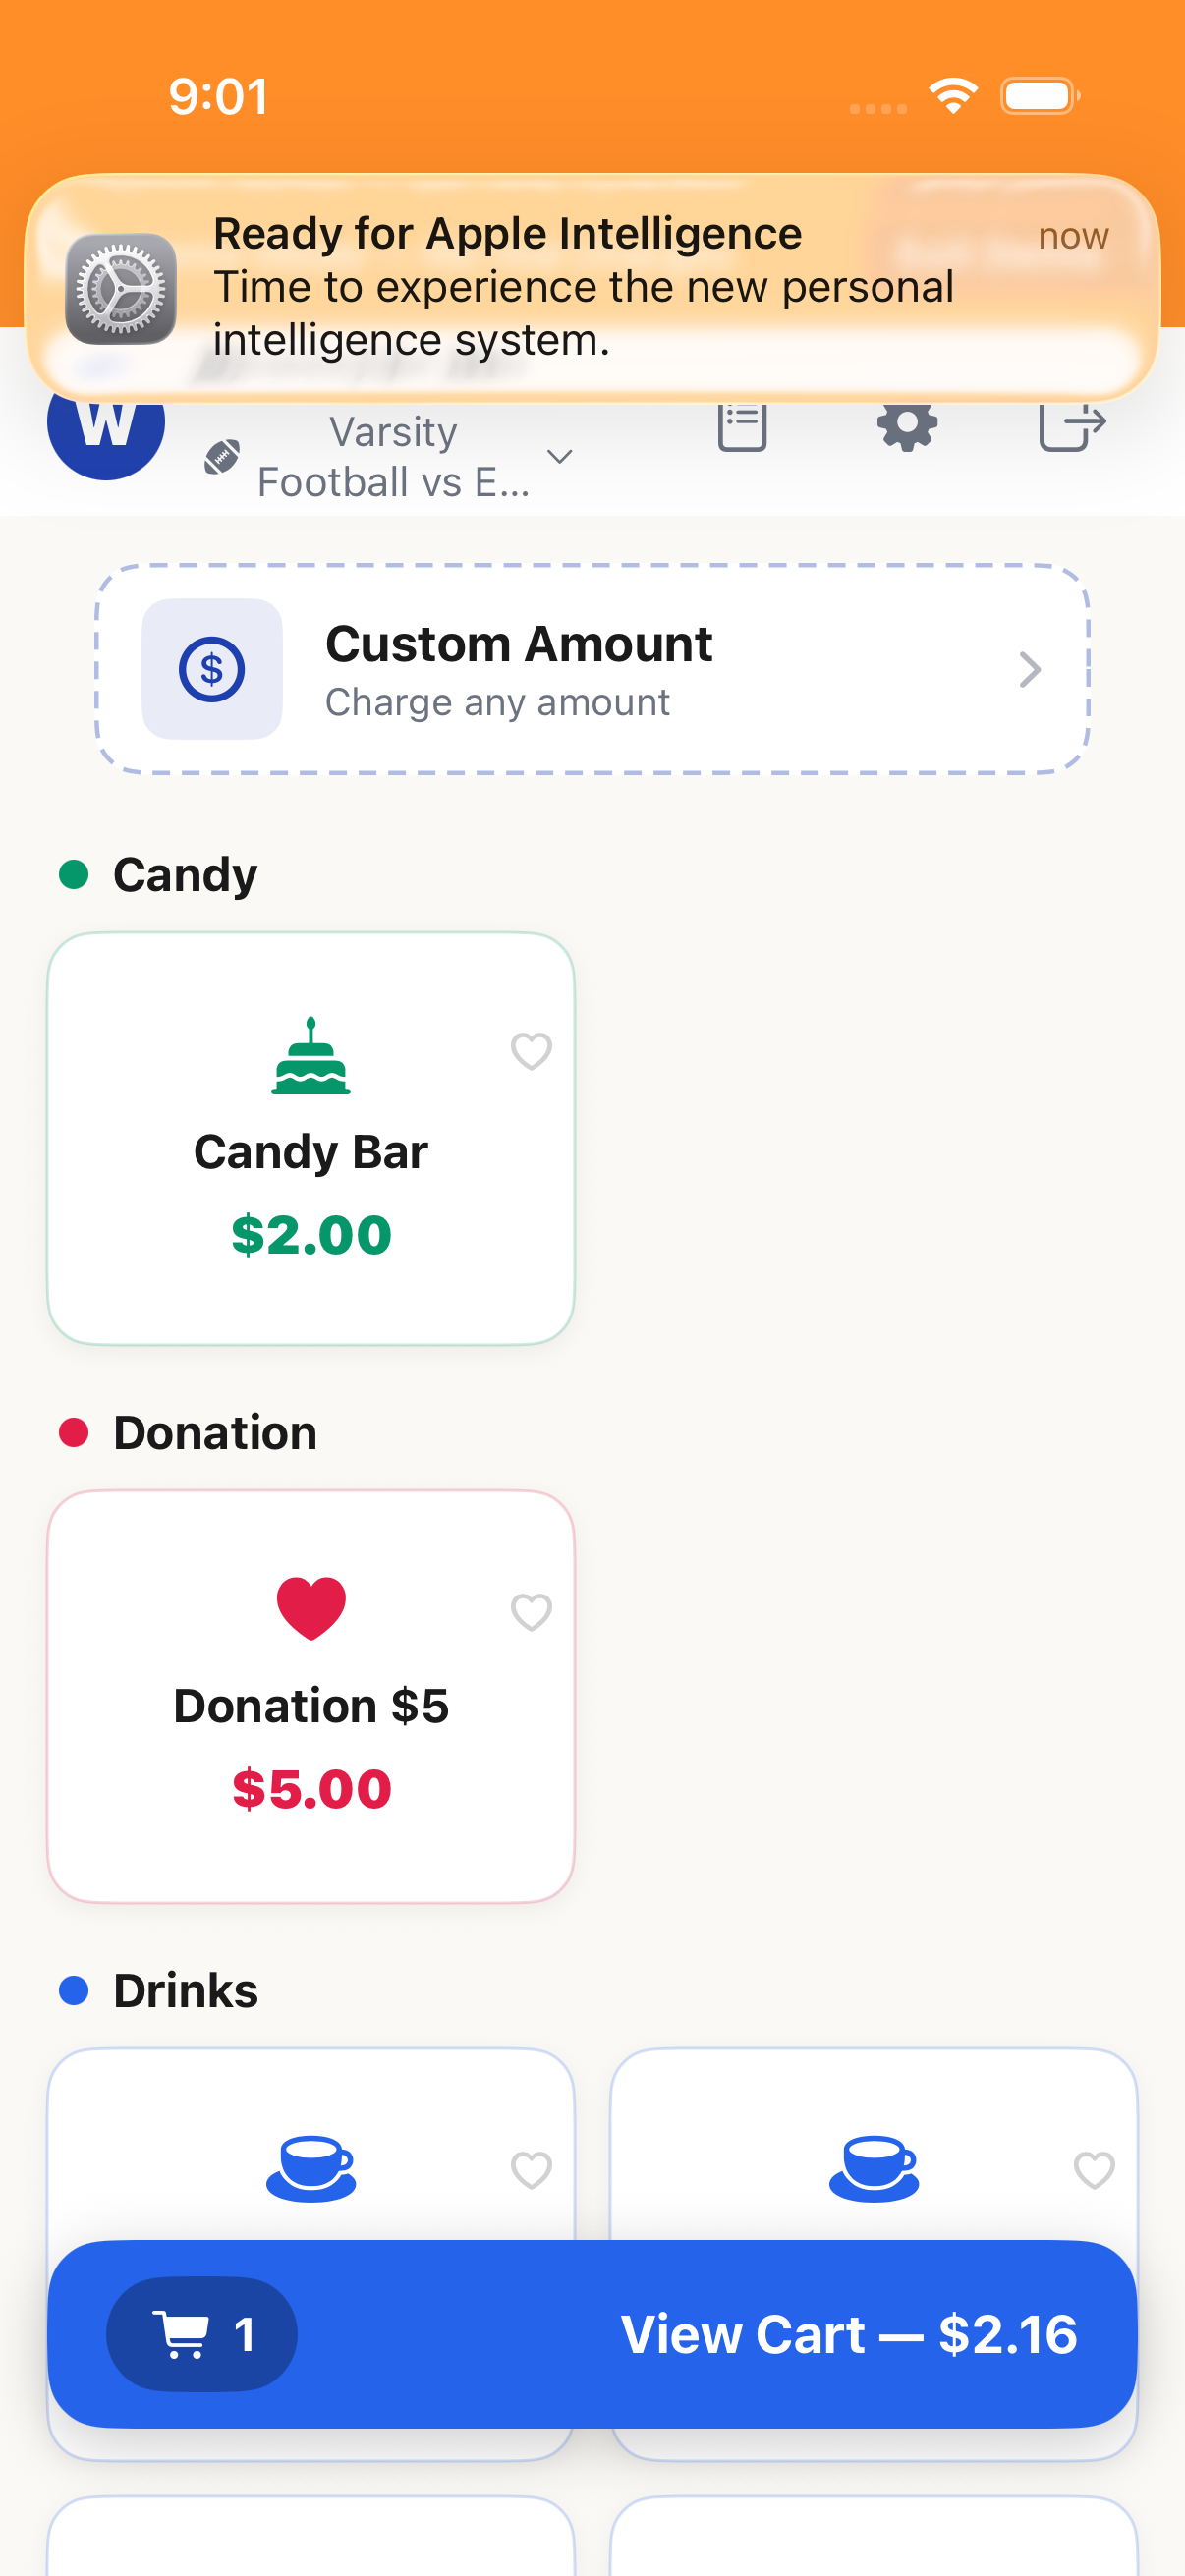
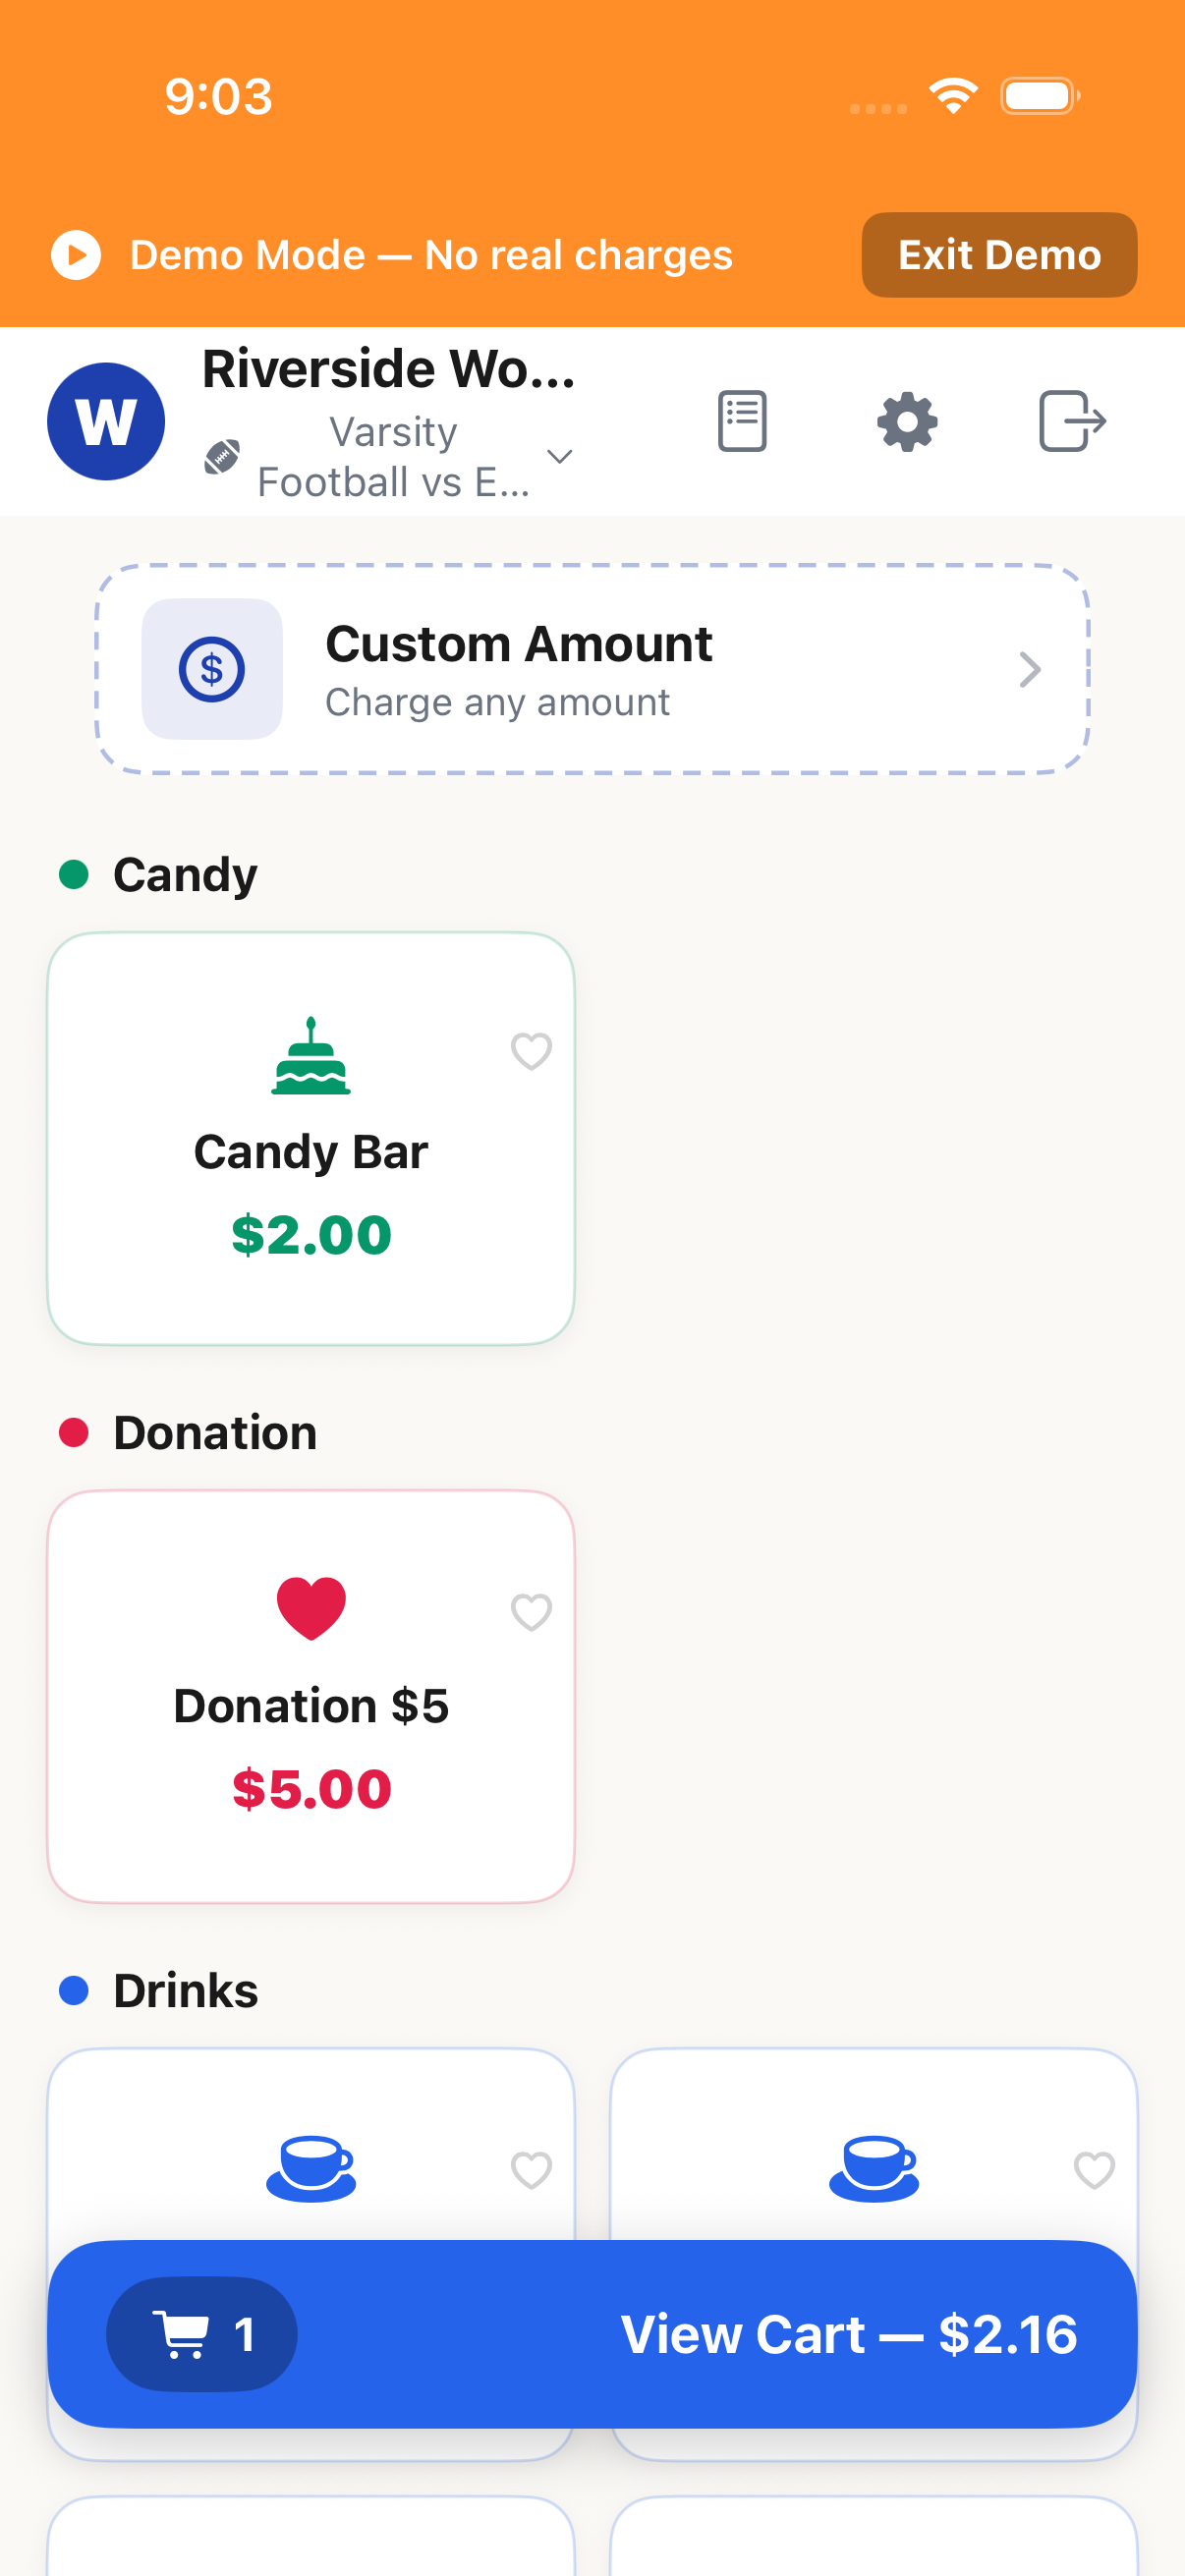
Each tap adds one unit. A running cart total appears at the bottom of the screen. You can see all items in your cart at a glance.
Manage the Cart
Tap the cart to review items. You can adjust quantities, remove items, or clear the entire cart. The subtotal updates in real time.
On iPhone, tap the cart bar at the bottom to open the full cart view.

Checkout with Card
Tap "Charge" to begin card checkout. The app will prompt the customer to tap, insert, or swipe their card on the Stripe M2 reader. A SpiritPay platform fee is added to the customer's total — your organization keeps the full item price.
The platform fee is paid by the customer, not deducted from your organization.
Receipt
After a successful payment, a receipt screen shows the transaction details including items, total, payment method, and a timestamp. Customers can scan a QR code for a digital receipt.
Card Reader
Get, pair, and manage your Stripe M2 reader.
Getting a Reader
SpiritPay requires a Stripe M2 Bluetooth reader to accept card payments. Two recommended options: • Buy through SpiritPay (contact support@townspirit.org) — we handle registration and setup. • Buy directly from Stripe at stripe.com/terminal (~$59) — registered to your own Stripe account.
Have a reader from another source? Used readers must be de-registered from the original account before they can be used. Contact support@townspirit.org and we can help with the transfer.
Pair the Stripe M2 Reader
Make sure Bluetooth is enabled on your device. In SpiritPay, go to Settings → Card Reader → Search for Readers. The M2 reader will appear in the list — tap to connect.
Make sure the reader is charged (solid green light) and within 10 feet of your device.
Connection Status
Once connected, the app shows a green connection indicator. The reader stays connected via Bluetooth as long as it's in range and powered on. SpiritPay will automatically reconnect if the connection drops briefly.
Troubleshooting
If the reader won't connect: (1) Toggle Bluetooth off and back on. (2) Hold the reader's power button until the LED blinks to reset it. (3) Make sure no other device is paired to the reader. (4) Restart the app.
The M2 reader can only be paired with one device at a time. Disconnect from other devices first.
Managing Transactions
View history and process refunds.
Transaction History
Tap the Transactions tab to see all sales for the current event. Each entry shows the items sold, total amount, payment method, and timestamp. You can search or filter by time.
Issue a Refund
Tap any transaction to view its details. Tap "Refund" to process a full or partial refund back to the customer's card. Only admins and managers can process refunds.
Card refunds may take 5–10 business days to appear on the customer's statement.
Refunds require admin or manager permissions.
Running Events
Open, manage, and close out events.
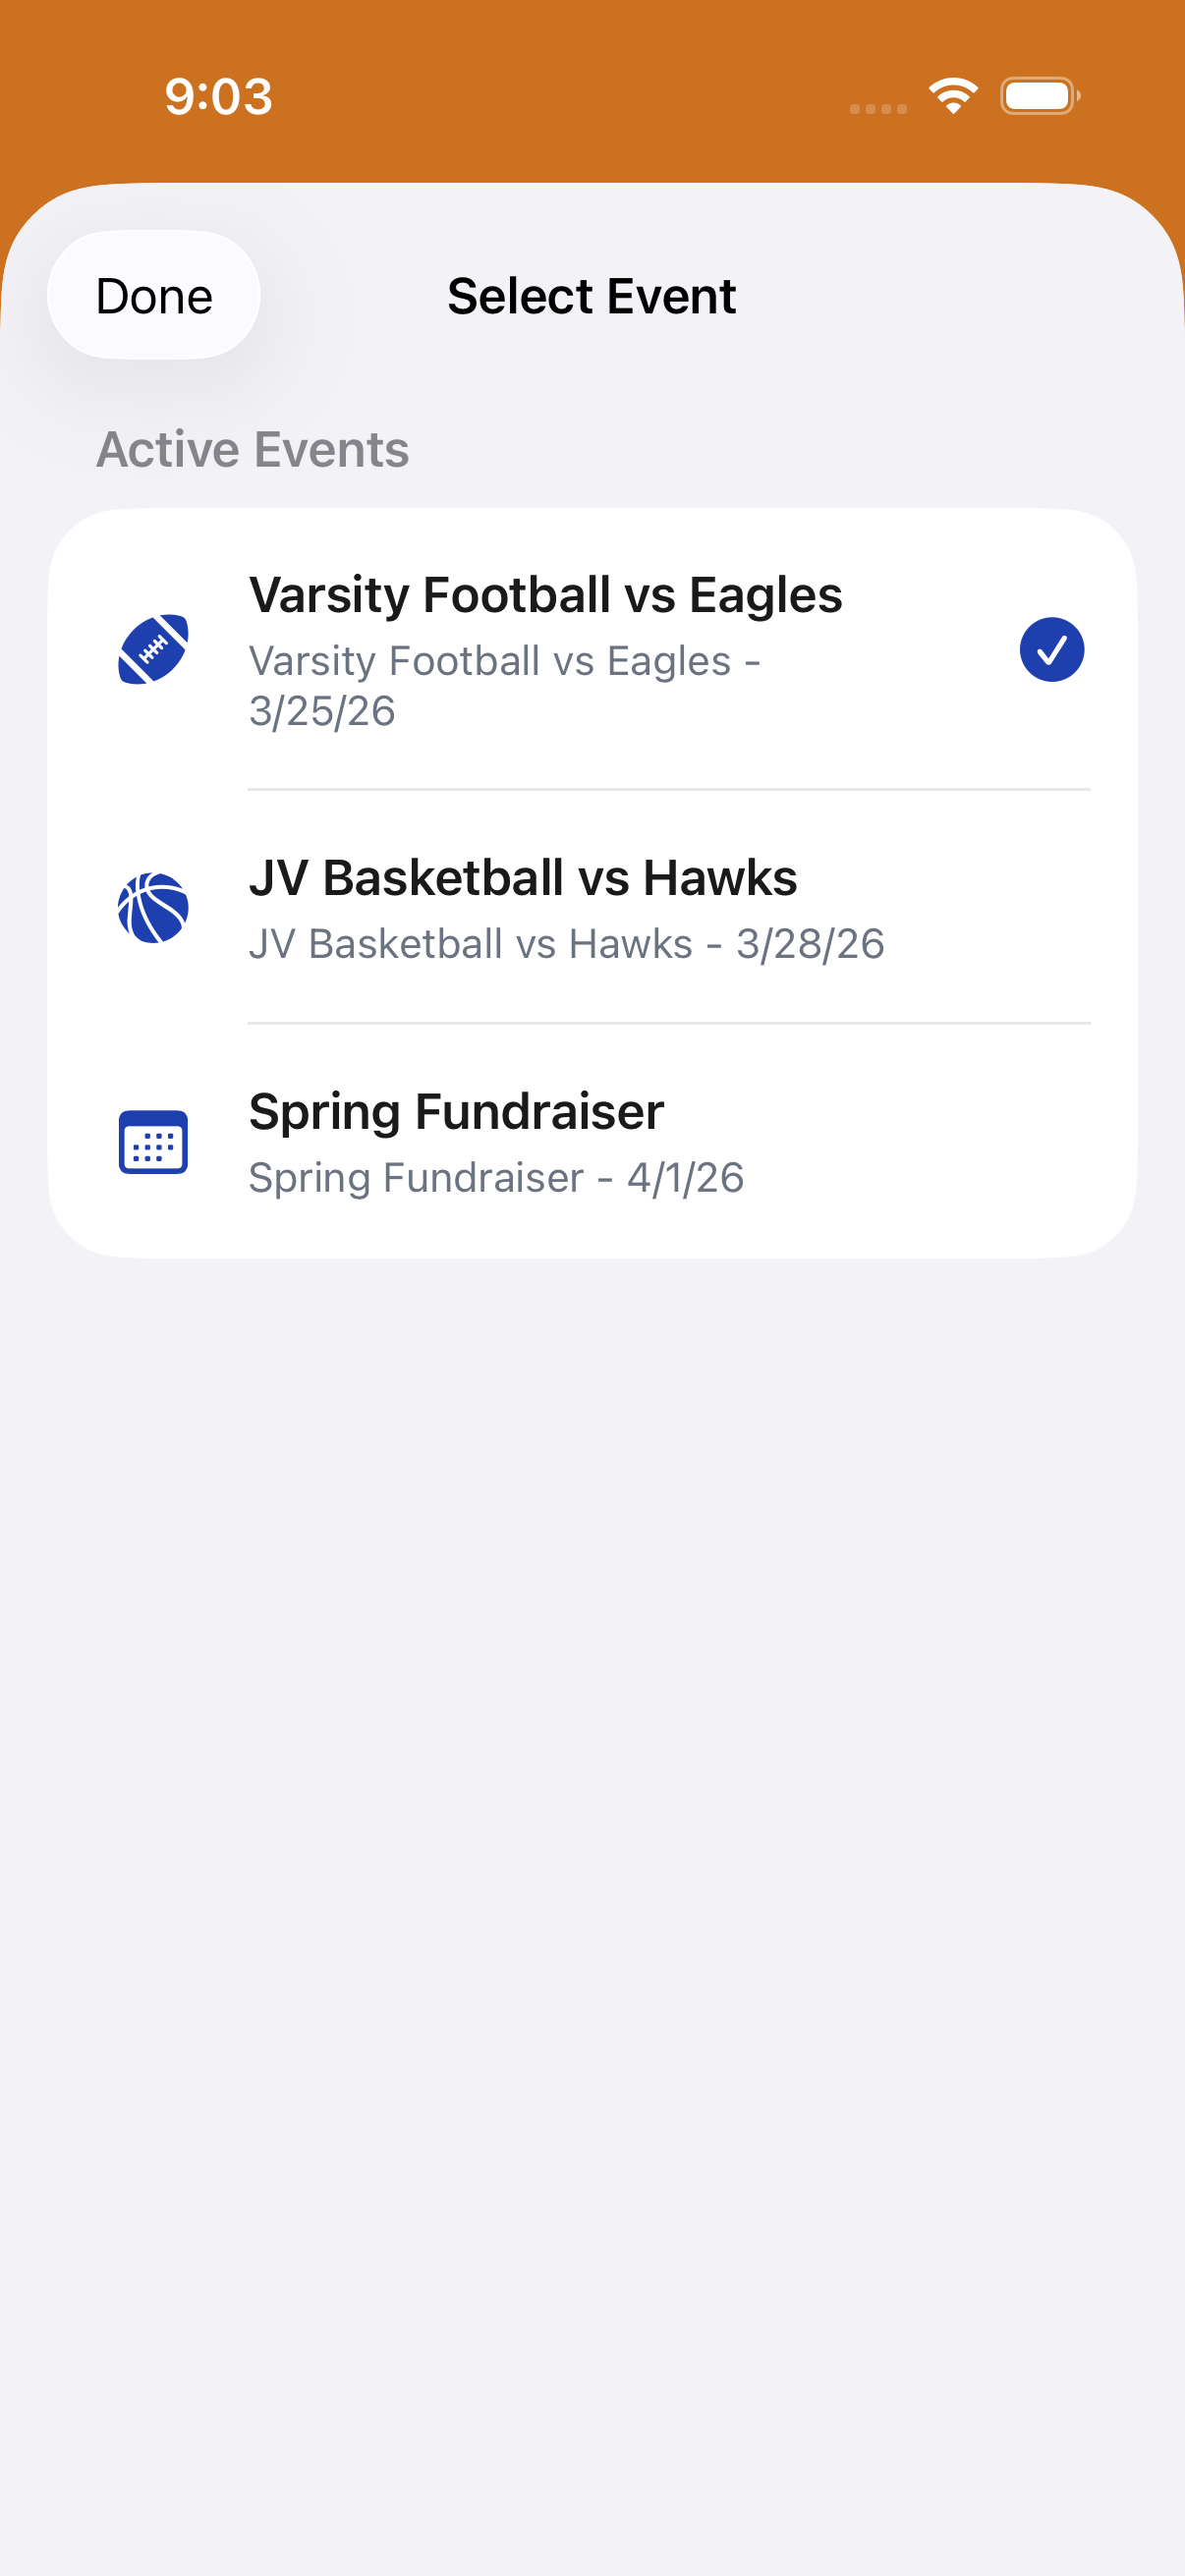
Open an Event
Before you start selling, open an event from the Events screen. Give it a name (e.g., "Friday Night Football") and the date. All transactions during the event will be grouped together for reporting.
During the Event
While the event is active, all sales are automatically tagged to it. Multiple volunteers can sell simultaneously on different devices — everything syncs to the same event.
You can check live sales totals anytime from the event dashboard.
Close the Event
When the event is over, tap "Close Event." This locks the event from further transactions and generates a summary report with total sales by category, number of transactions, revenue breakdown, and more.
Event Summary Report
After closing, review the event summary. It shows revenue by category, top-selling items, and total amounts by payment type. This data is also available in the admin dashboard.
Admin Dashboard
Manage your team, view reports, and configure settings.
Dashboard & Reports
The admin dashboard gives you an overview of your organization's activity: recent events, total revenue, transaction counts, and trends. Tap into any event for a detailed breakdown.
Team Management
View and manage your team members. You can assign roles (Admin, Manager, Volunteer), generate invite codes, and remove members. Admins have full access; volunteers can only sell.
Roles: Admin (full access), Manager (sell + refund + reports), Volunteer (sell only).
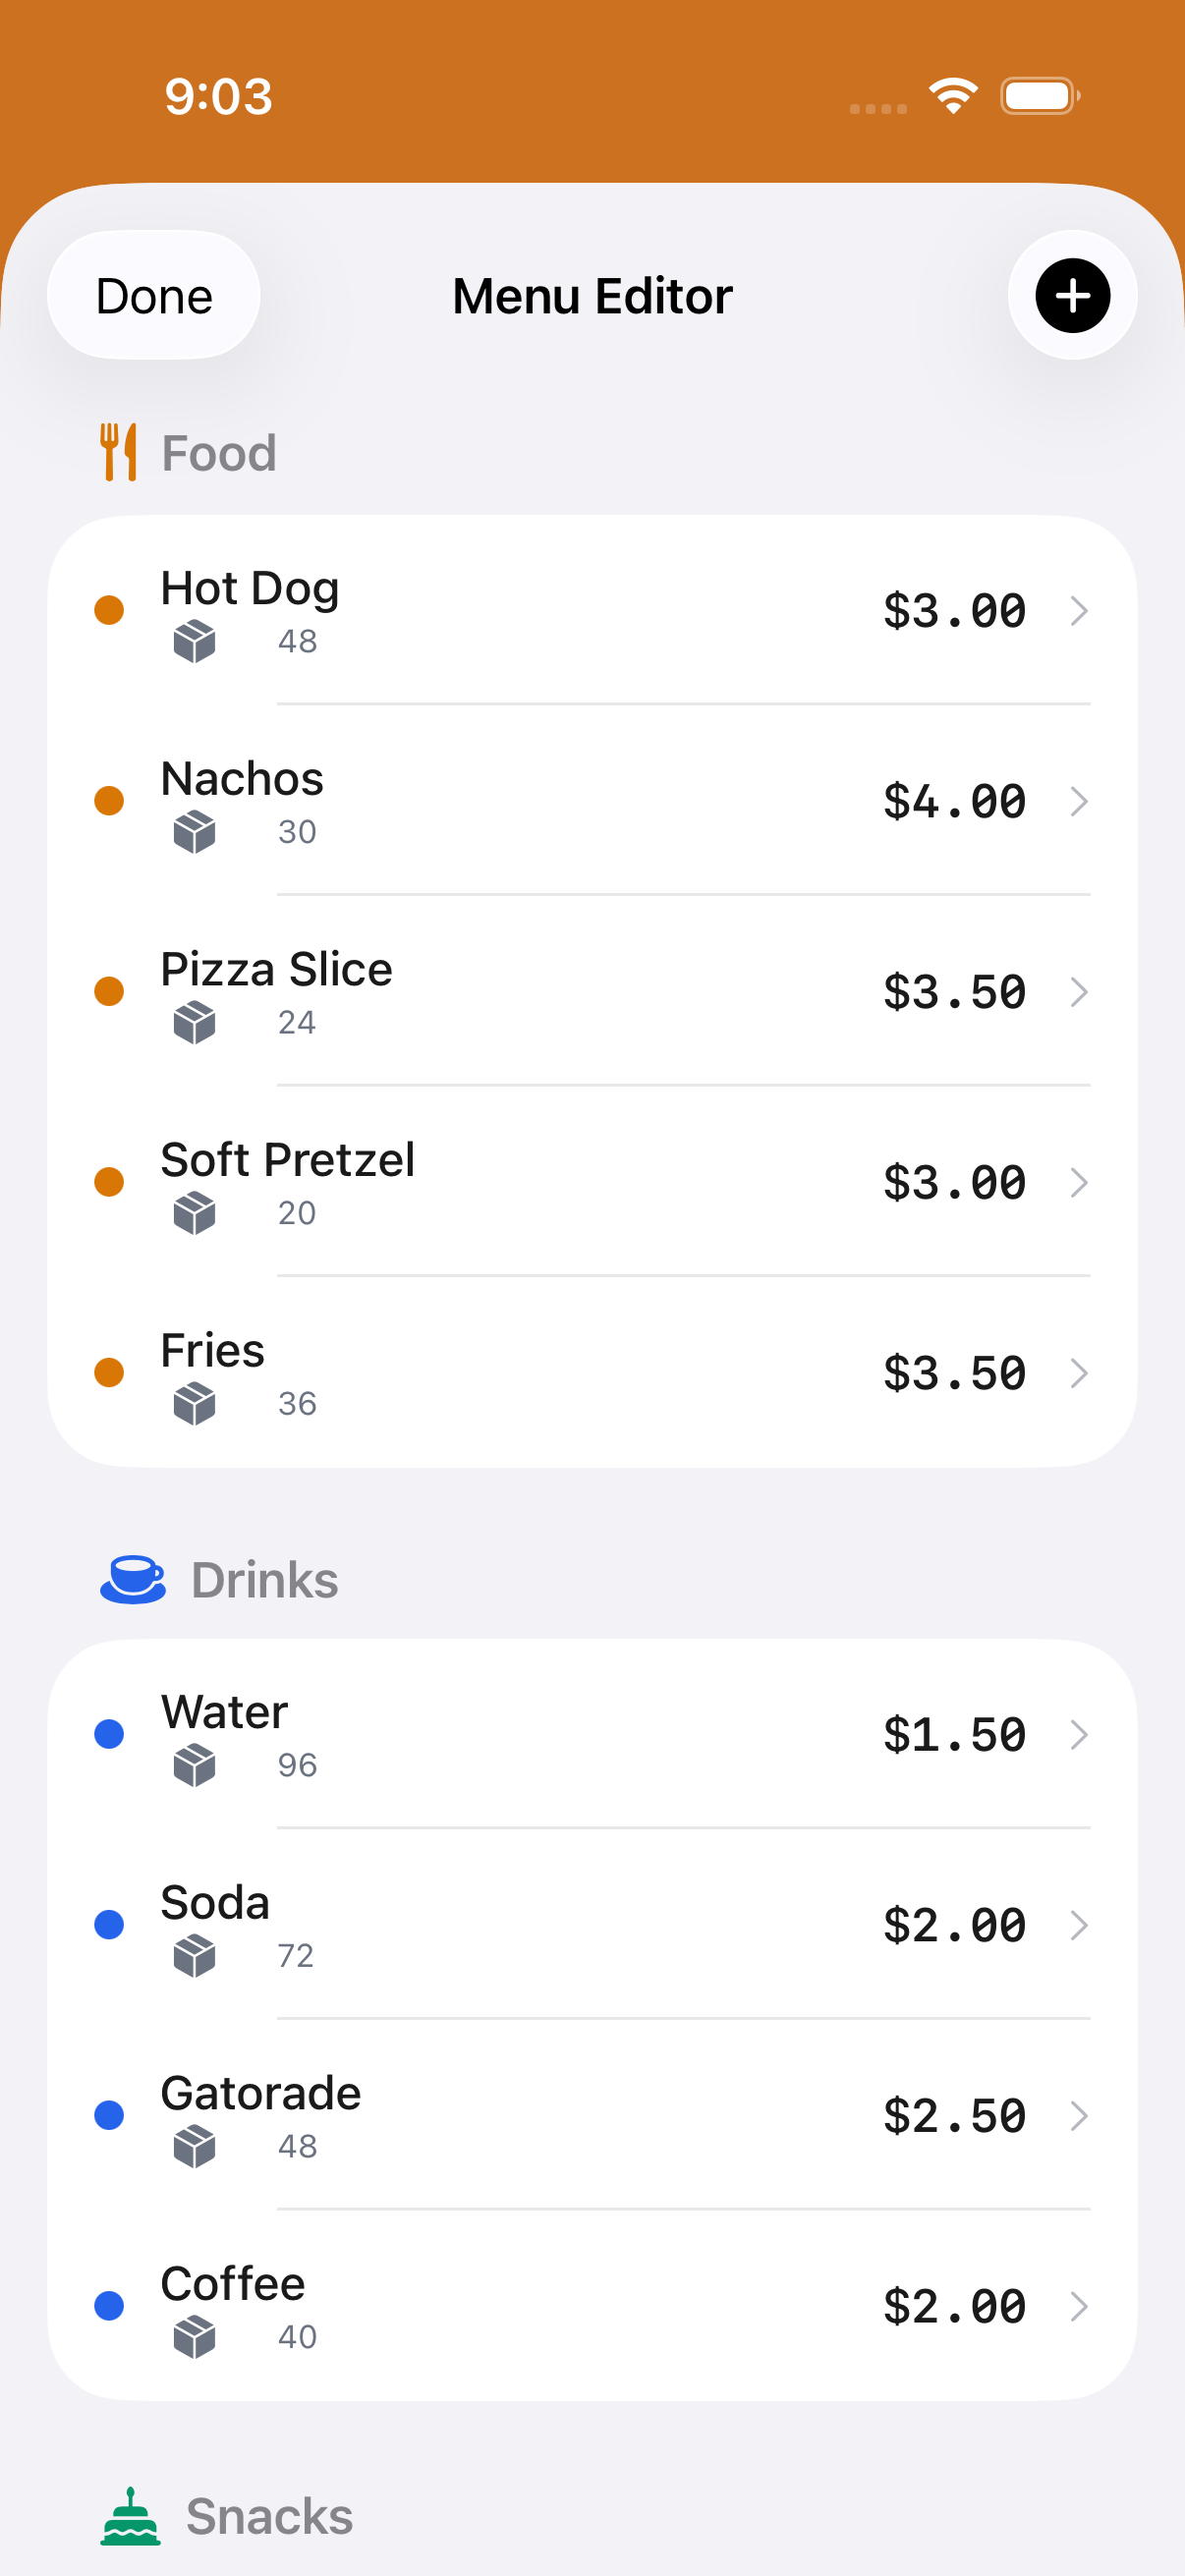
Menu Editor
Add, edit, or remove menu items. Set names, prices, and categories. Changes sync immediately to all devices in your organization — no need to update each one individually.
Stripe Connect Status
Check your Stripe connection status and manage settings. If Stripe isn't connected yet, you can start the onboarding process here. Once connected, you can view your Stripe dashboard for payout details.
Settings & Support
Get help, adjust preferences, and contact support.
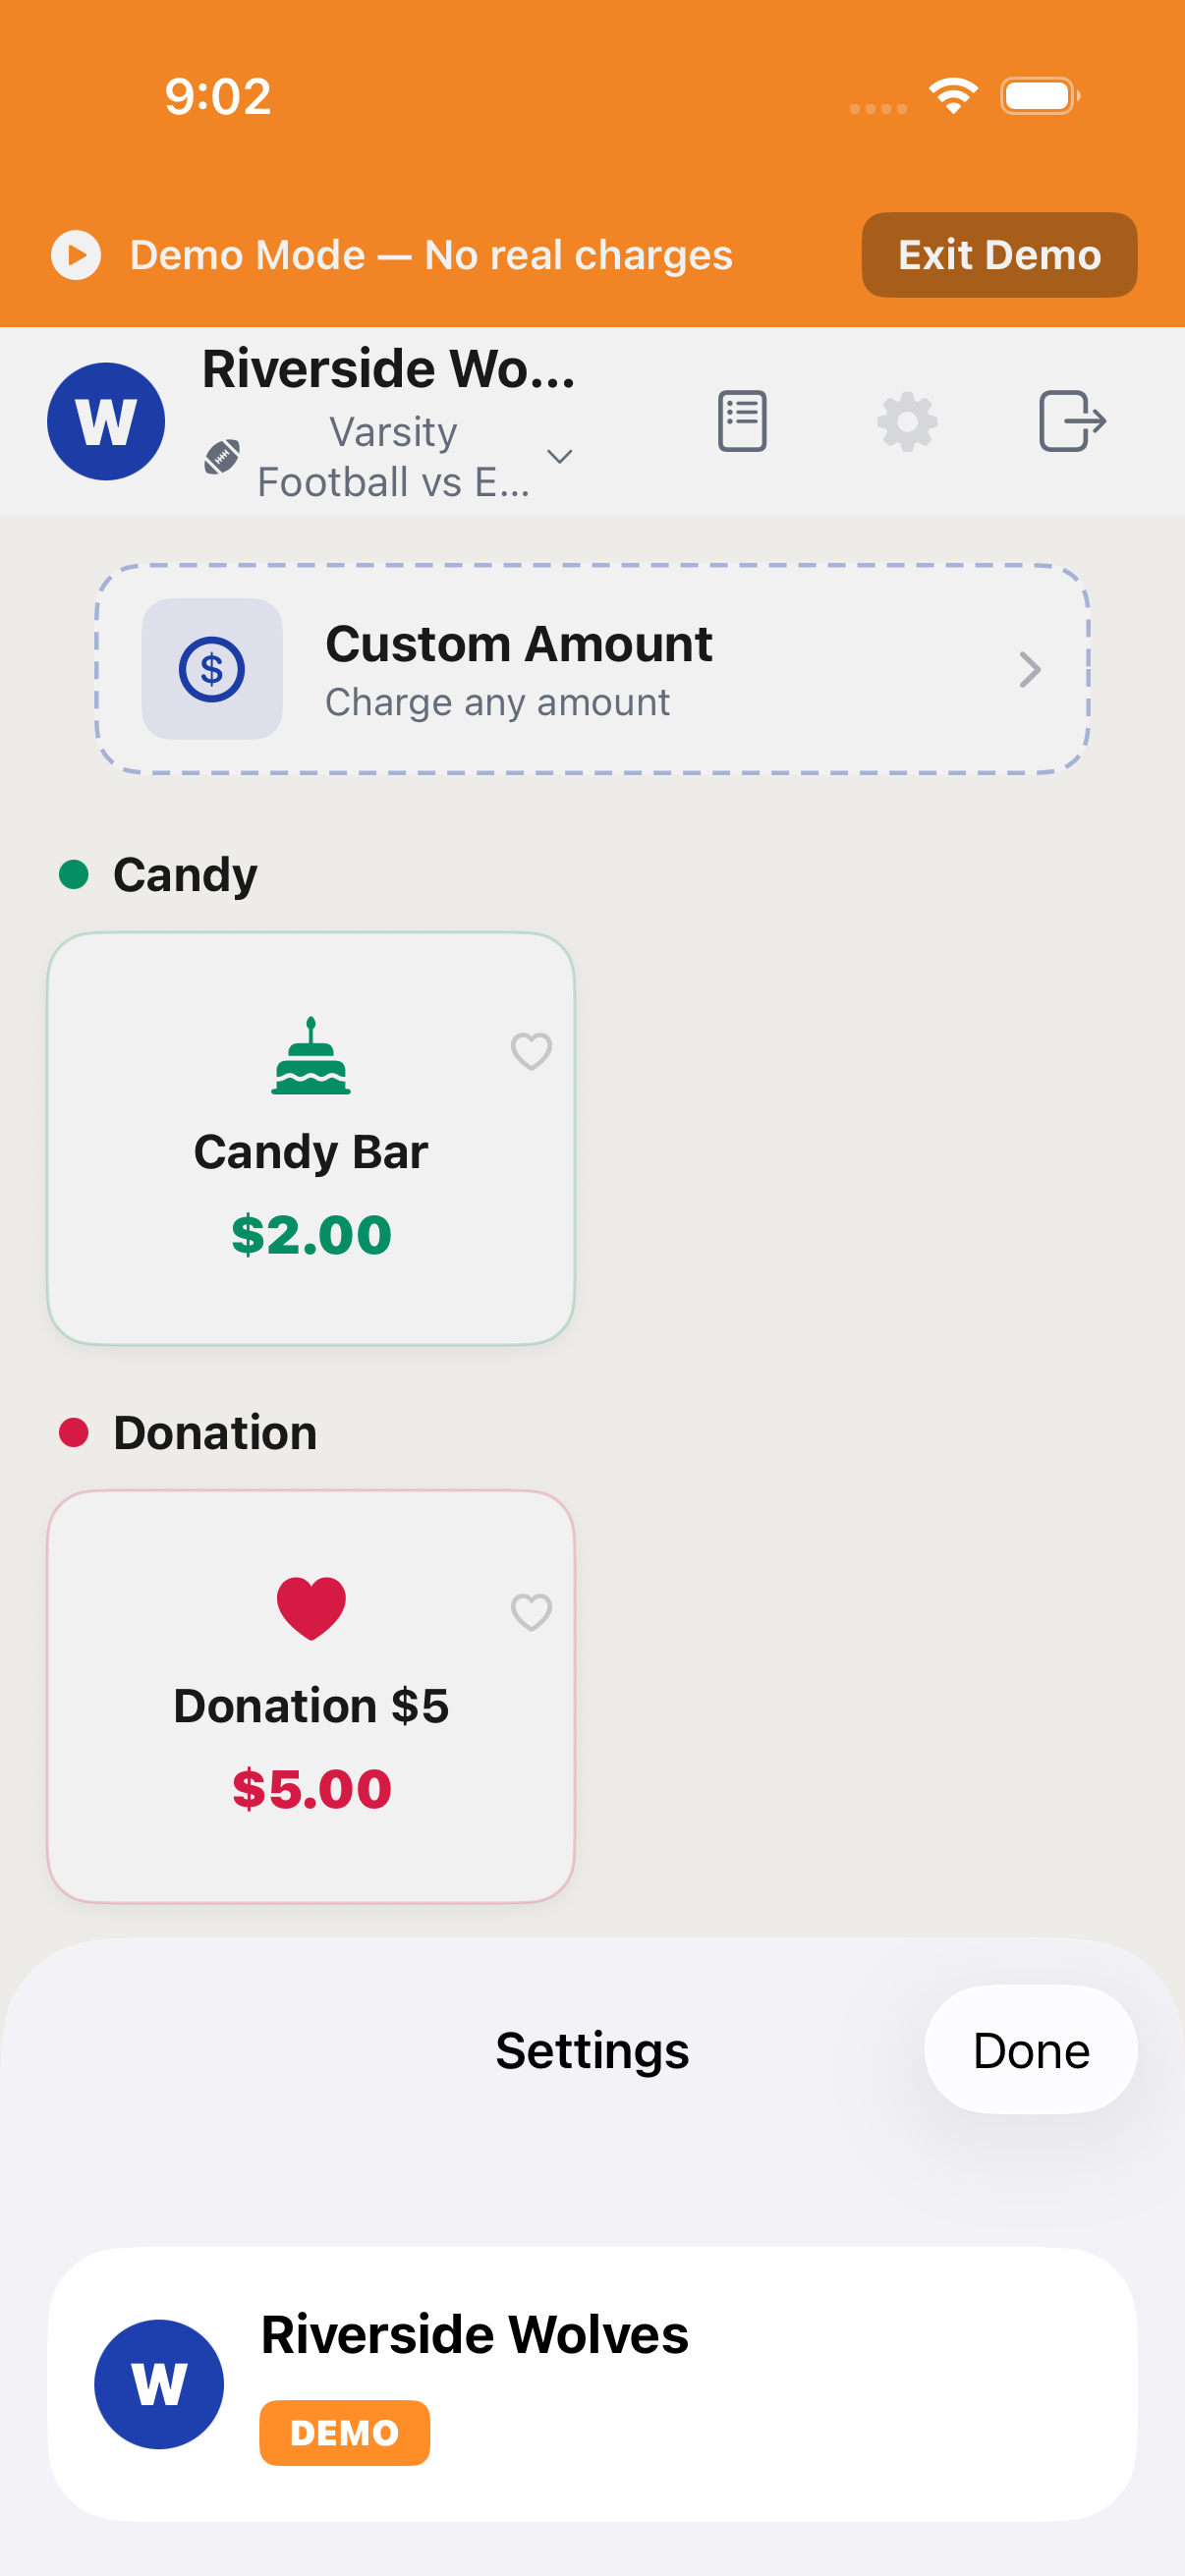
App Settings
Access settings from the gear icon. Here you can manage your profile, switch organizations (if you belong to more than one), adjust notification preferences, and sign out.
SpiritPay Support
For app issues, reader connection problems, feature requests, or account setup questions — use the in-app feedback form (Settings → Need Help? → Contact SpiritPay) or email support@townspirit.org.
Stripe Support
For questions about refunds, disputes, bank info, payouts, or tax forms — these are handled directly by Stripe. Visit support.stripe.com or your Stripe Dashboard at dashboard.stripe.com.
SpiritPay provides the POS app and card reader support. Stripe is your independent payment processor — they handle your money, payouts, and compliance.
Appendix
Quick reference, troubleshooting, and legal links.
Troubleshooting FAQ
Common issues and fixes: • Reader won't connect → Toggle Bluetooth, reset reader, ensure no other paired device. • Payment declined → Ask customer to try a different card. • App freezing → Force-close and reopen. Check for app updates. • Can't find invite code → Admin goes to Settings → Invite Volunteers.
System Requirements
• iOS 16 or later • iPhone or iPad (any model from the last 5 years) • Active internet connection (Wi-Fi or mobile hotspot) • Stripe M2 reader for card payments (Bluetooth) — buy from SpiritPay, Stripe, or used • Stripe account for your organization (set up during onboarding)
Legal & Privacy
Privacy Policy: townspirit.org/privacy Terms of Service: townspirit.org/terms SpiritPay™ is a trademark of Skybound Solutions, LLC. All card payments are processed by Stripe, Inc.
Contact Us
SpiritPay Support: support@townspirit.org General Inquiries: info@skyboundmi.com Phone: (810) 378-0620 Web: townspirit.org/support
Need more help?
Visit our support page or email us for personalized assistance.